How to Add Julia to Jupyter Notebook
In this tutorial, you will learn how to add Julia to Jupyter Notebook.
Step 1: Download and Install Julia
Linux/MacOS
Run the following command in your terminal to install Julia:
curl -fsSL https://install.julialang.org | sh
Windows
Download the App Installer or run the following command in your command prompt:
winget install --name Julia --id 9NJNWW8PVKMN -e -s msstore
After the installation, restart your terminal/command prompt and run the following command to verify the installation:
julia -v
The returned output should be the version number of your Julia.
Step 2: Add the IJulia Package
Open the Julia command line interface, also known as REPL (read-eval-print-loop), simply type julia in your terminal/command prompt and hit return:
julia
Next, load the Pkg module, Julia's package manager, by executing the following command:
using Pkg
Finally, install the IJulia package:
Pkg.add("IJulia")
Once done, you should be good to use Julia with Jupyter Notebook.
Step 3: Create a New Julia Notebook
Open Jupyter Notebook:
jupyter notebook
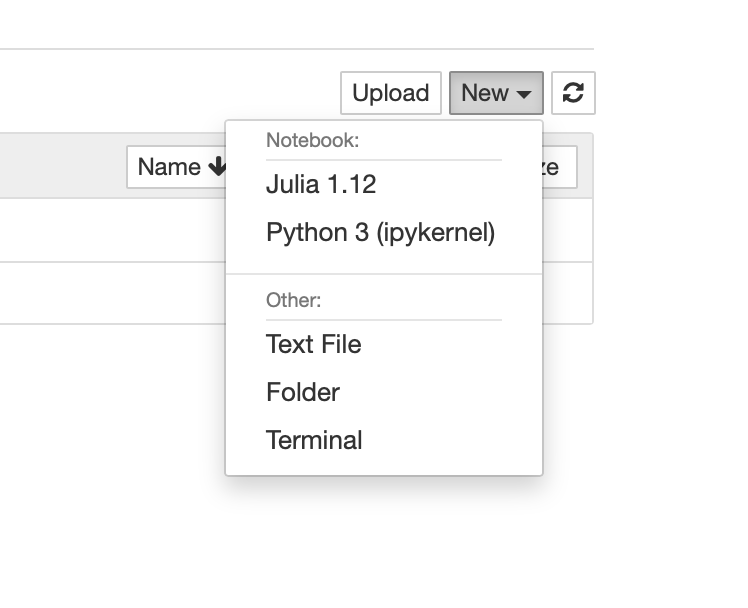
You should now see a Julia option in the dropdown menu under New:
That's it! You just learned how to add Julia to Jupyter Notebook.